The Perfect Fit
Master one of the most important prep steps in lash application with this quick, easy-to-follow training video. In just a few minutes, you’ll learn how to correctly apply under-eye pads to ensure comfort, precision, and flawless results every time.
Eye Pad Application
Let's master the perfect under eye pad placement to prevent 'stickies' and ensure client comfort every single time.
Step 1: Clean and Prep
Clean and prep the eye area, ensuring those pads stay exactly where you put them.
Step 2: Placement
Ask your client to look up and slightly open their eyes. Using your fingers, gently hold the lower lid down to create a smooth surface.
Step 3: Secure the Pads
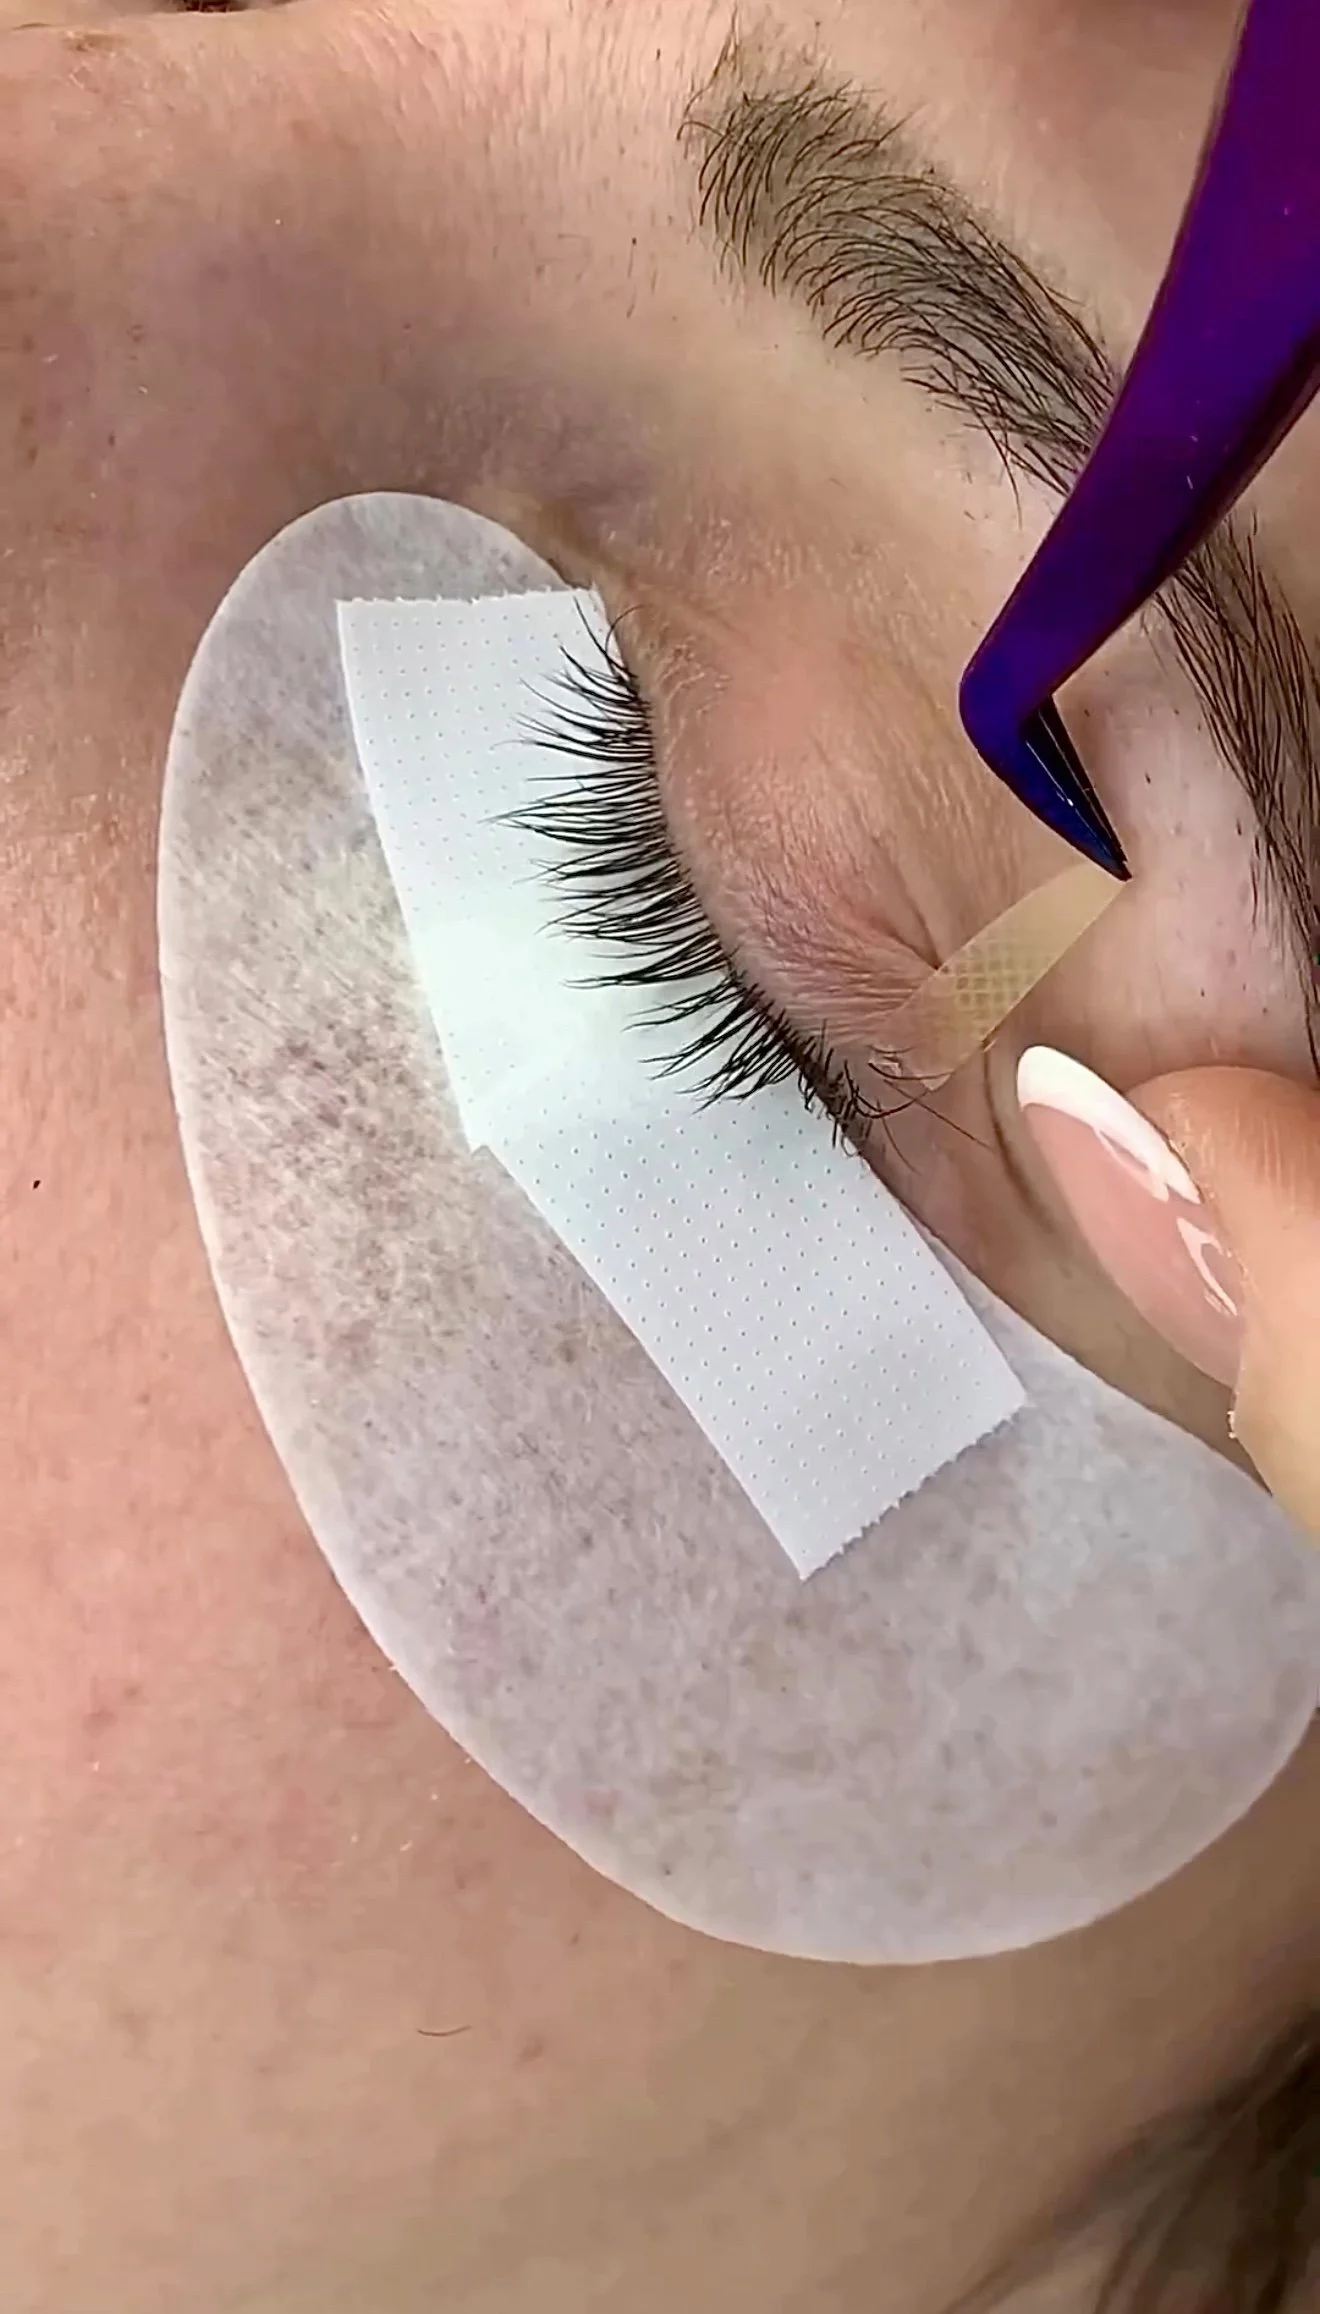
Hold the patch at both ends and apply it on top of the lower lashes. Ensure it sits about 1mm below the waterline to avoid irritation.
Step 4: Secure & Lock Down Lower Lashes
With the eyes still open, gently tap the pad down, moving from the inner corner outwards. If any baby lashes are poking through the inner or outer corners, use micropore tape to lock them down.
Step 5: Identify the Natural Lash Line
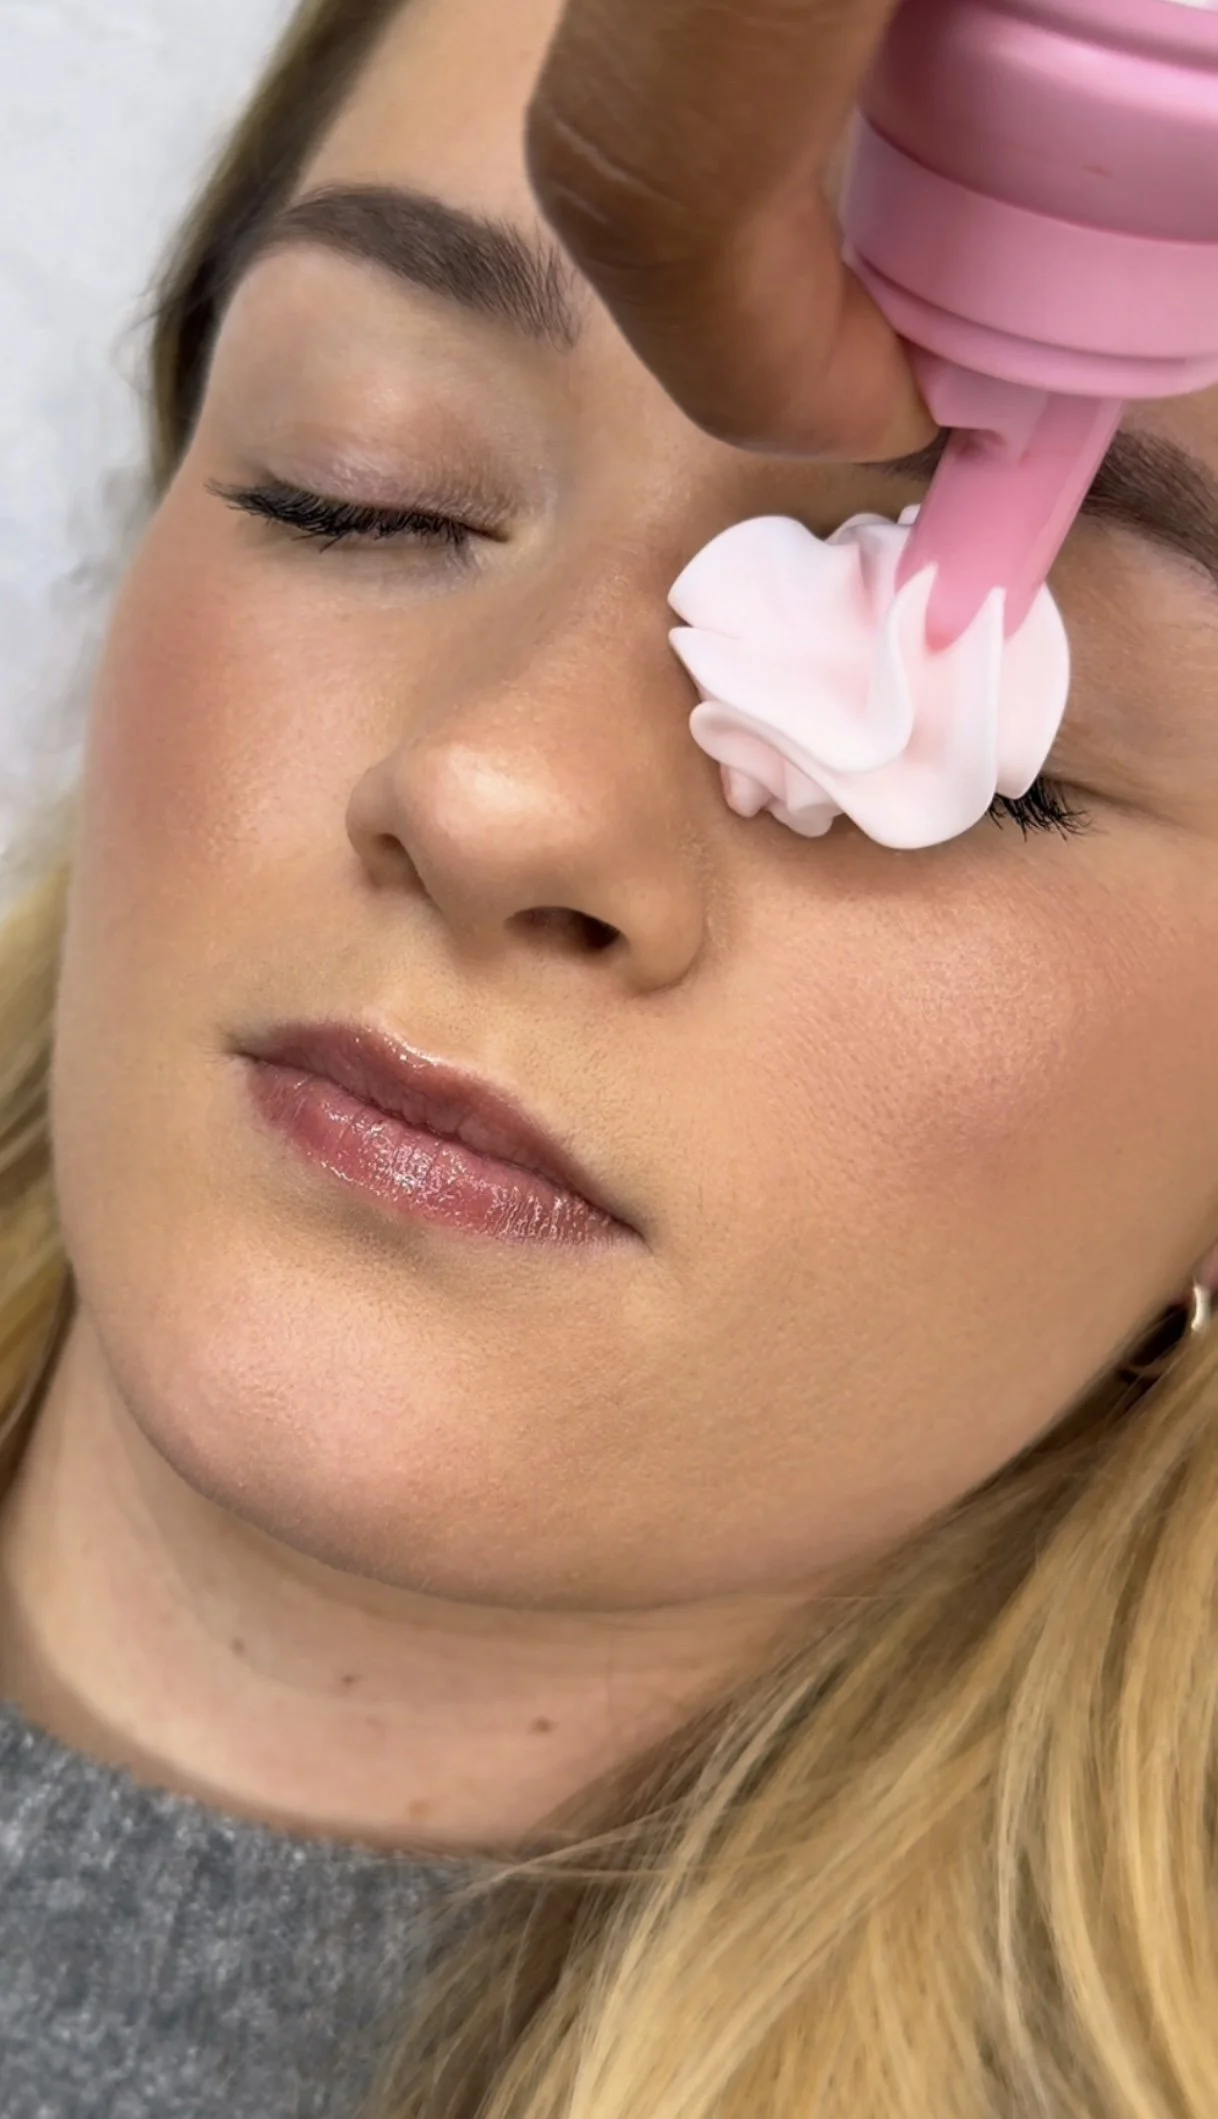
Use a clean disposable spoolie to gently brush through the natural lashes. Use a light, upward motion to fan them out across the eye pad. Brushing isn't just for neatness, it helps you see the natural growth cycle and identifies any crisscrossed lashes that need isolating. It also ensures the lashes are laying flat against the white background of the pad for maximum visibility.
Step 6: Get Ready for Application
You are now ready for mapping and application.