The Isolation Edit
THE ART OF ISOLATION
Why do our extensions feel so weightless? It’s all in the isolation. Watch how we meticulously separate each individual lash to ensure zero clumping and a seamless, damage-free growth cycle for your natural lashes.
5 step guide: Isolating Lashes Using Micropore Tape.
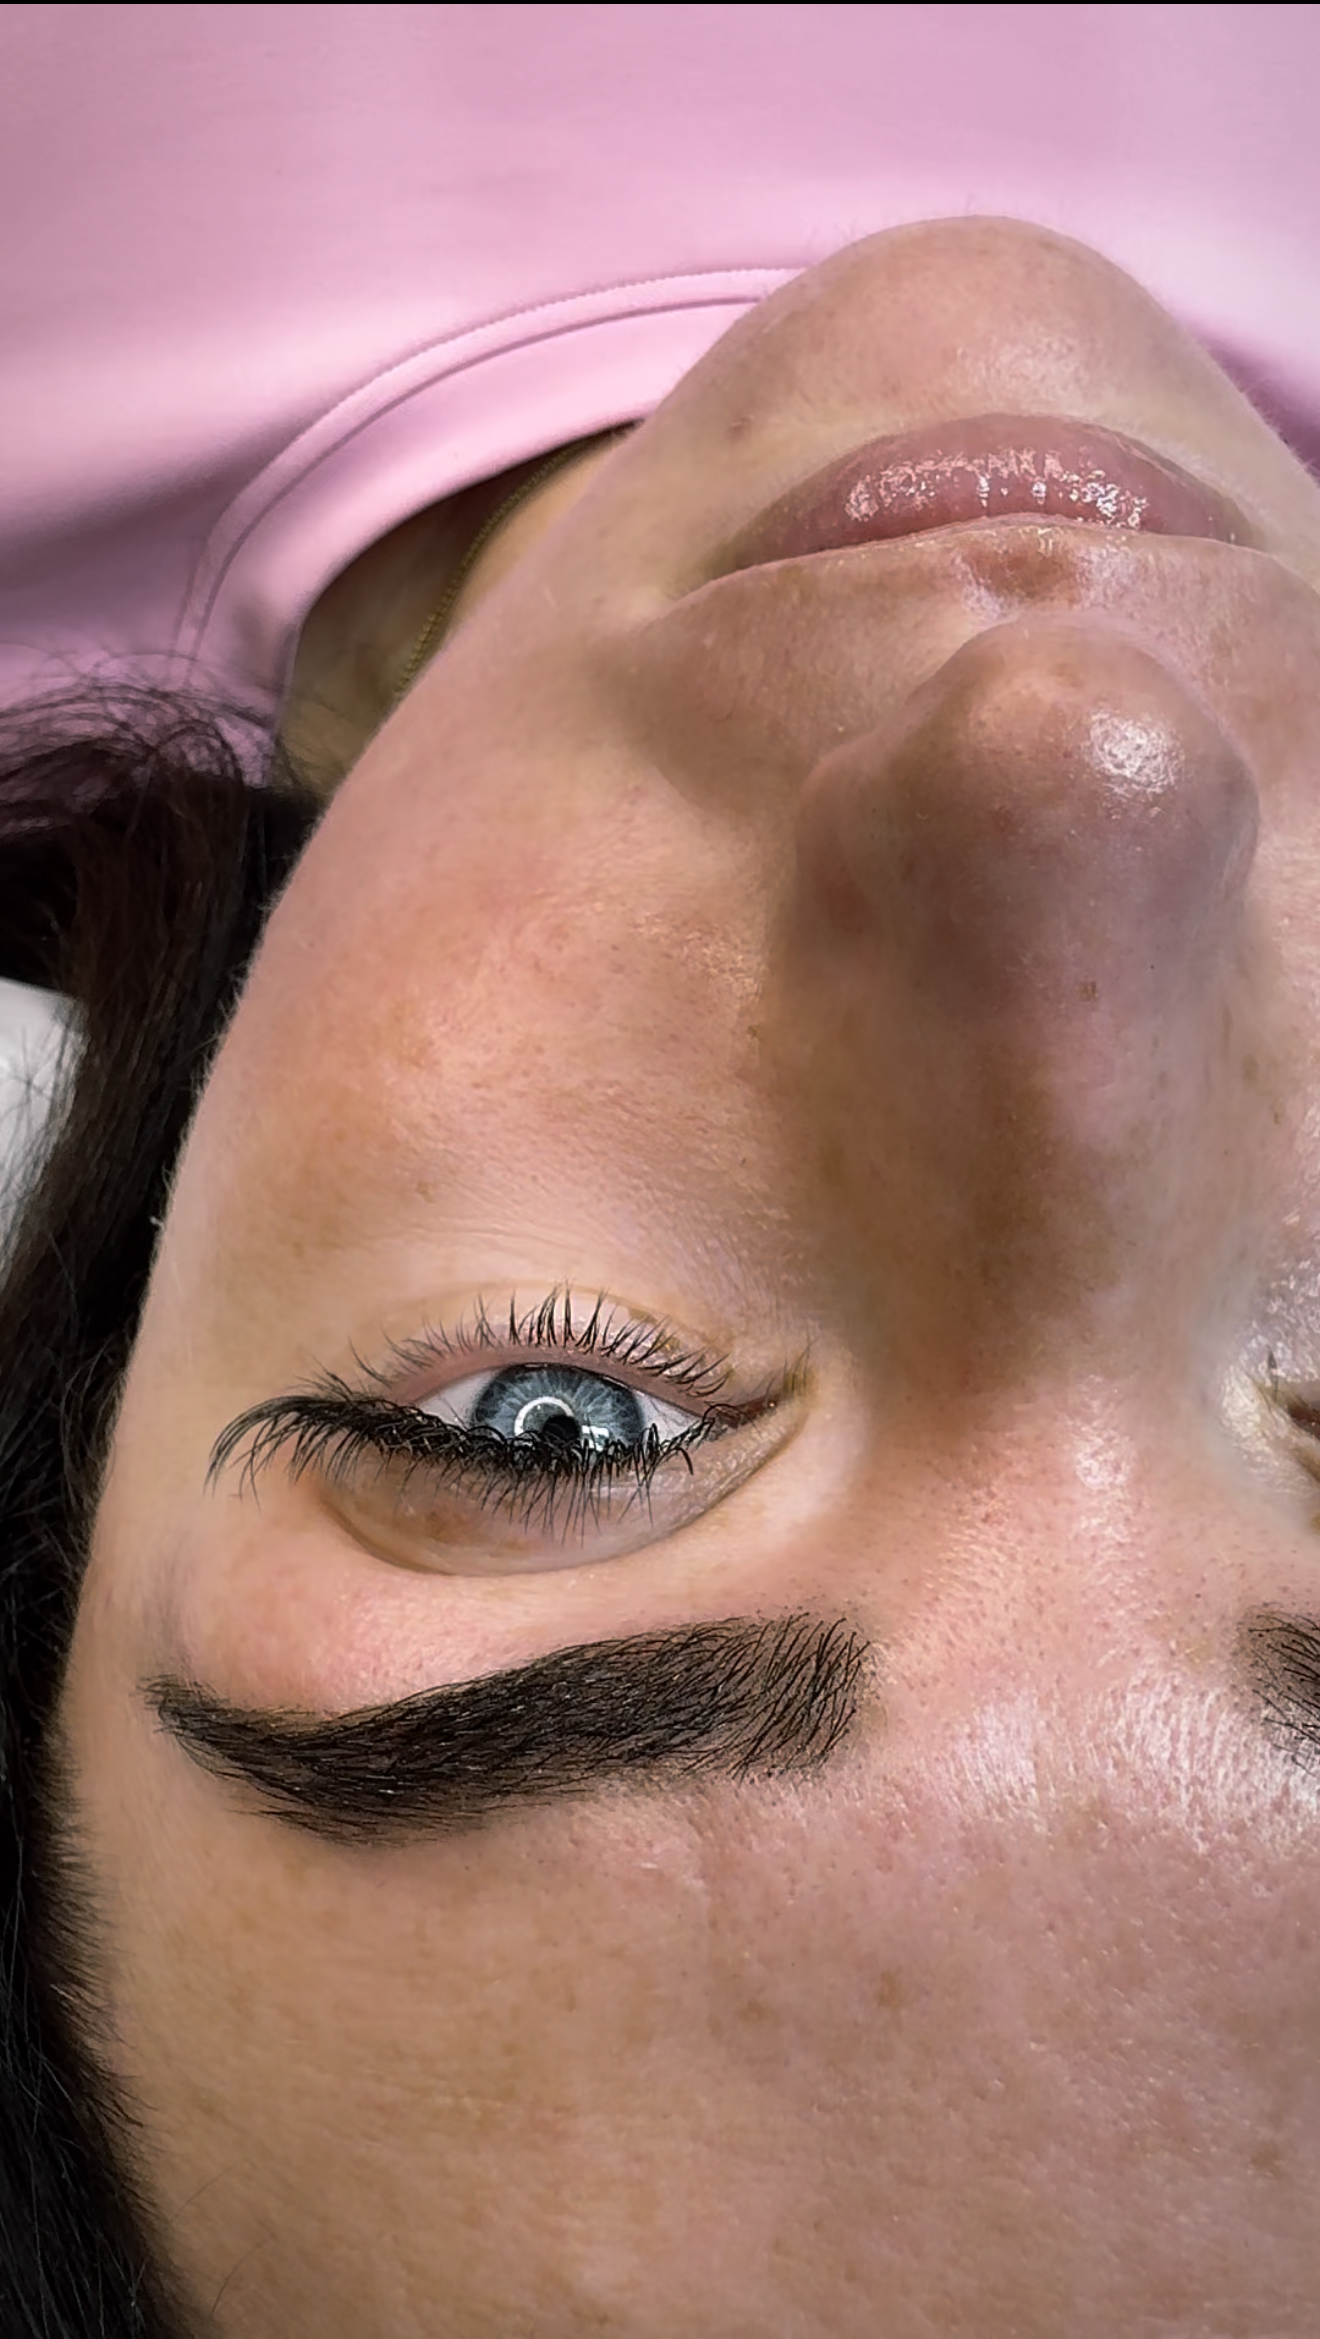
Micropore tape can be used to gently stretch the skin, helping to separate the lash line and improve visibility for cleaner, more precise isolation.
Step 1: Prepare the Eye Area
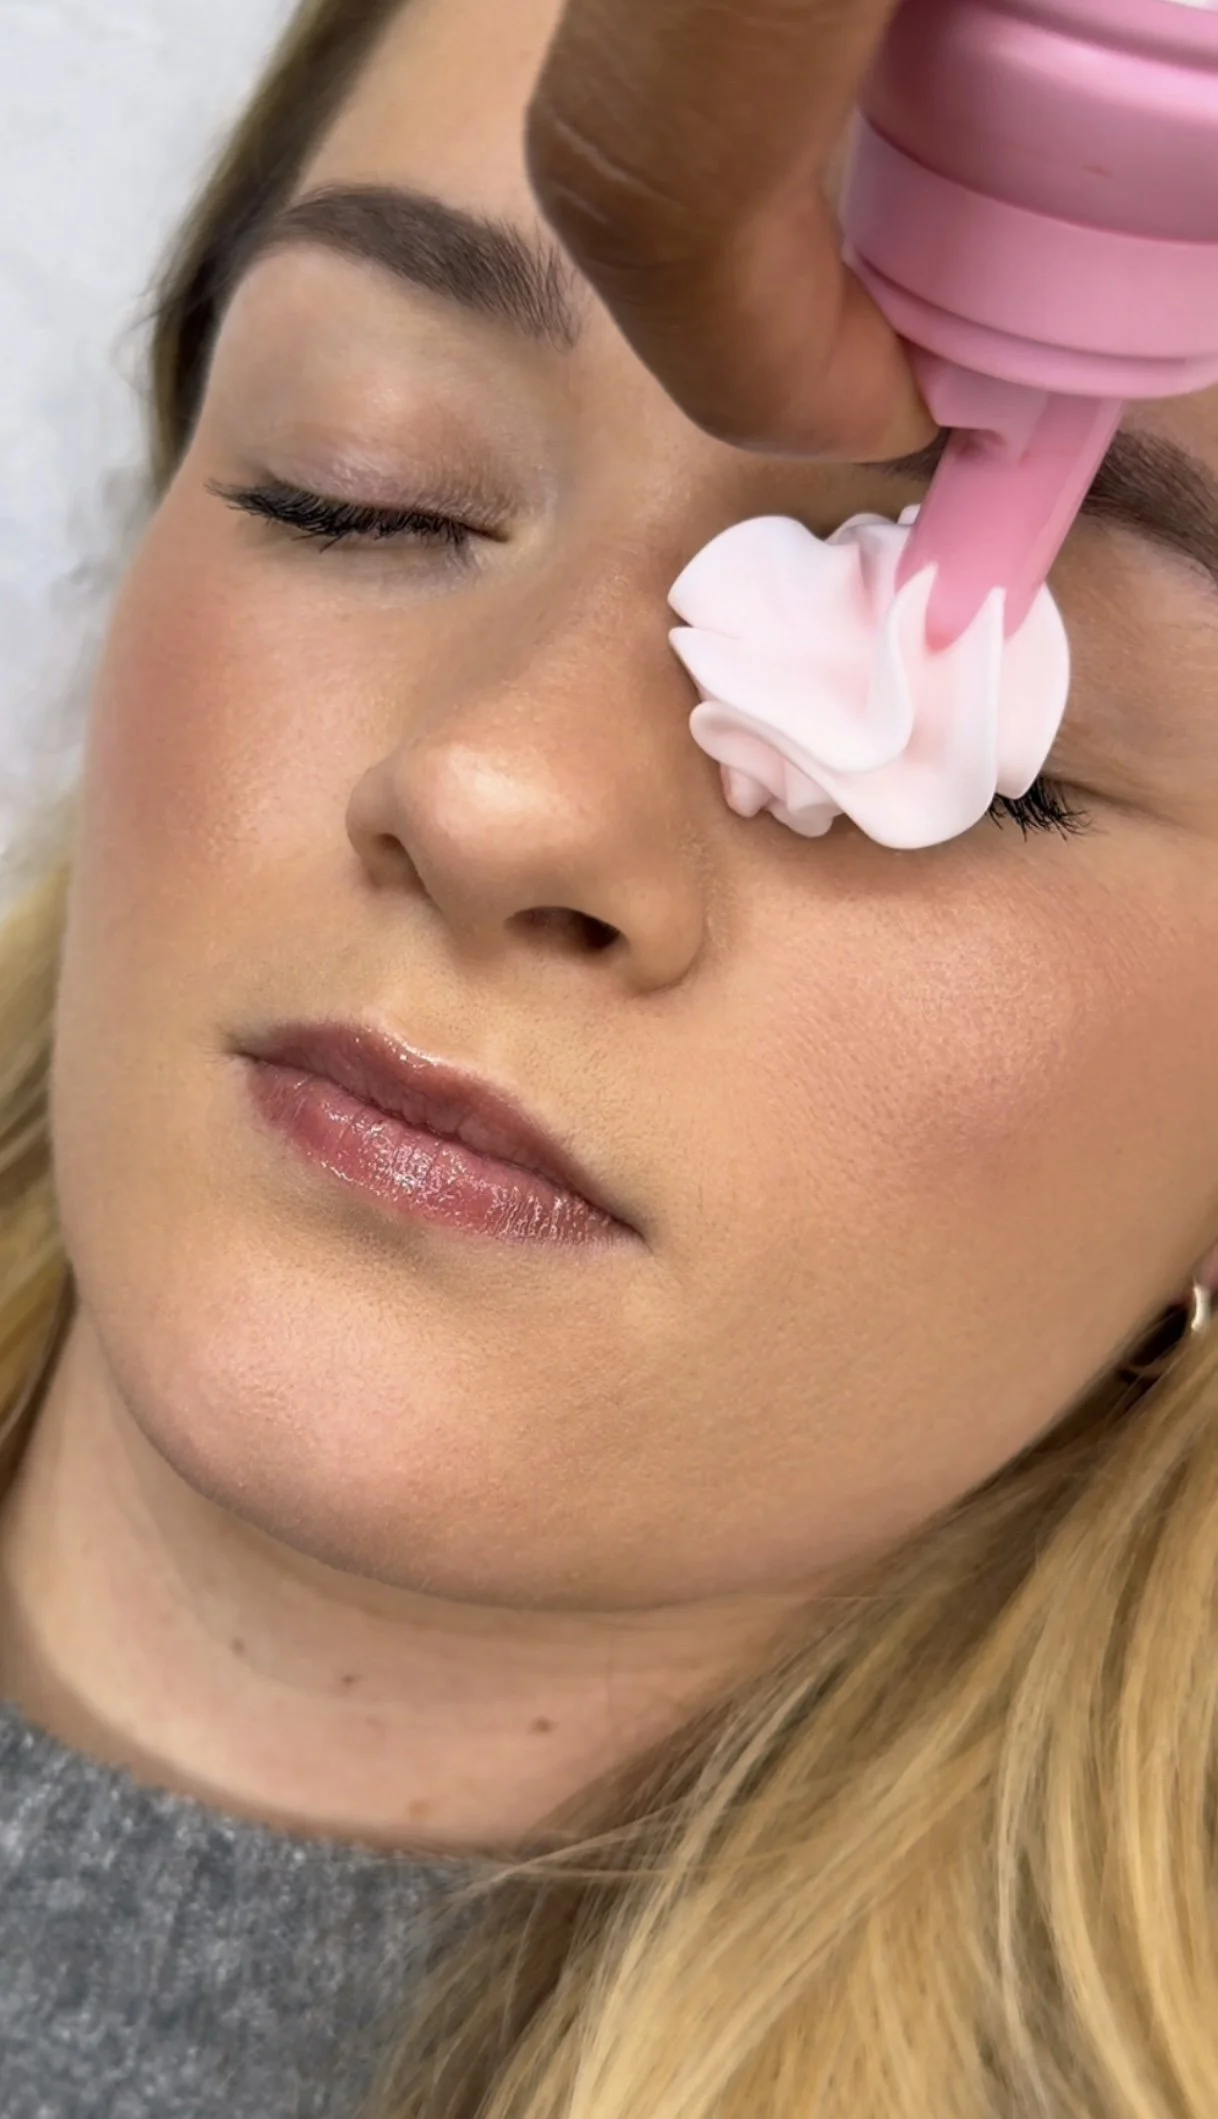
Cleanse the lashes and apply under-eye pads as normal. Ensure the skin is completely dry before applying tape. Cut a small strip of micropore tape (around 2–3 cm) and lightly tap it on the back of your hand to reduce stickiness.
Step 2: Apply the Tape
With the client’s eye closed, place the tape onto the eyelid or outer eye area where extra separation is needed. Do not place tape directly on the lashes.
Step 3: Gently Stretch the Skin
Carefully pull the tape upward, outward, or diagonally to create light tension. This lifts the skin slightly, separating overlapping lashes and revealing hidden layers. The pull should always be comfortable for the client.
Step 4: Isolate and Apply
Using your isolation tweezers, isolate a single natural lash and apply the extension as normal. Hold isolation briefly after placement to prevent neighbouring lashes from sticking together while the adhesive begins to cure.
Step 5: Adjust and Remove
Reposition the tape as you move across the lash line to maintain visibility. Once finished, gently peel the tape back on itself while supporting the skin to avoid discomfort.
Top Tip:
Micropore tape is especially useful for dense lash lines, hooded eyes, and mature skin. Always use minimal tension and prioritise client comfort.